Jiffy Seed Starting Greenhouse Kit: A Comprehensive Guide
Embark on a successful growing journey! This guide details using Jiffy kits for healthier plants, simplifying seed starting with peat pellets and a greenhouse dome.
Understanding the Jiffy System
The Jiffy system streamlines seed starting, utilizing biodegradable peat pellets contained within a convenient greenhouse structure. These pellets, compressed peat moss, expand when hydrated, providing an ideal medium for germination and early root development.
Unlike traditional soil, Jiffy pellets offer a sterile environment, minimizing fungal diseases and damping-off. The greenhouse dome maintains consistent humidity, crucial for successful sprouting.
A key benefit is the biodegradable peat strip, allowing for easy transplanting with minimal root disturbance – reducing transplant shock. The system’s components work synergistically, creating a self-contained ecosystem for nurturing seedlings from seed to transplant, simplifying the process for both novice and experienced gardeners.
What are Jiffy Peat Pellets?
Jiffy Peat Pellets are small, compressed discs composed of high-quality peat moss, offering a soilless medium for seed starting. They are designed to expand significantly when soaked in water, typically growing to around 2.5-3.8 cm (1-1.5 inches) in height.
These pellets provide excellent aeration and drainage, crucial for healthy root development. Their sterile nature minimizes the risk of diseases common in traditional seed-starting mixes.
The pellets are encased in a fine netting, which helps maintain their shape during expansion and provides a structure for initial root growth. Importantly, both the peat and netting are biodegradable, simplifying the transplanting process and reducing root disturbance when moving seedlings to larger containers or the garden.
Benefits of Using a Jiffy Seed Starting Kit
Jiffy Seed Starting Kits offer numerous advantages for gardeners of all levels. They simplify the seed-starting process, promoting healthier and more vigorous plants. The kits include everything needed – peat pellets, a base tray, and a humidity dome – creating an ideal growing environment.
A key benefit is the reduced risk of transplant shock, thanks to the biodegradable peat strips. These allow seedlings to be transplanted directly into the garden, minimizing root disturbance.
The kits also offer convenience and cleanliness, eliminating the need for messy soil mixes. Furthermore, the controlled environment within the greenhouse dome encourages faster germination and stronger seedling growth, ultimately leading to a more bountiful harvest.
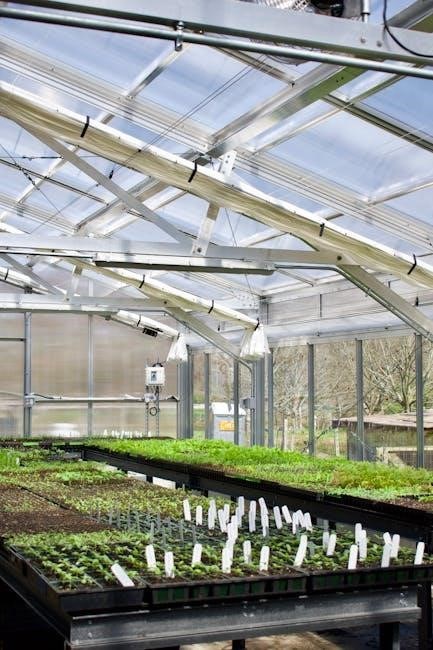
Setting Up Your Jiffy Greenhouse Kit
Prepare for planting success! Begin by unpacking all components, hydrating the peat pellets, and arranging them neatly within the provided base tray.
Unboxing and Component Overview
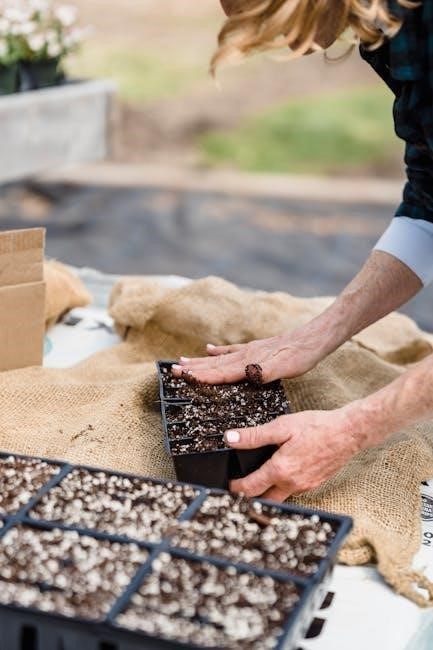
Your Jiffy Seed Starting Kit arrives with everything needed for a thriving start! Typically, you’ll find a sturdy base tray designed to hold water and support the peat pellets. Included are the Jiffy-7 peat pellets themselves – these are the growing medium where your seeds will germinate.
A clear, humidity-retaining dome is also present, crucial for maintaining optimal moisture levels during the initial stages of growth. Many kits, like the Jiffy 72 Professional Greenhouse, also include plant labels for easy identification of your seedlings. Some variations offer different pellet sizes (36mm or 50mm) and cell counts (36, 50, or 72).
Ensure all components are present before proceeding. Familiarizing yourself with each part will streamline the setup process and contribute to a successful seed-starting experience.
Hydrating the Peat Pellets
Proper hydration is key to successful germination! Begin by placing the dry Jiffy peat pellets into the base tray. Slowly pour warm water into the tray, ensuring all pellets are submerged. The pellets will expand dramatically, reaching approximately 7 times their original size.
Continue adding water until the pellets are fully saturated and have risen to a height of 2.5-3.8 cm (1-1.5 inches). Crucially, drain any excess water after expansion to prevent waterlogging, which can hinder germination.
Allow the hydrated pellets to sit for a few minutes, allowing them to fully absorb the moisture. They should feel evenly moist but not soggy. Now they are ready for sowing your seeds!
Watering Technique: Achieving Optimal Expansion
Gentle and thorough watering is essential! Avoid forceful pouring, which can disrupt the pellets. Instead, use a watering can with a rose head or a gentle spray setting to distribute water evenly across all pellets. Warm water encourages faster and more uniform expansion.
Ensure the water reaches the bottom of the tray, allowing the pellets to absorb moisture from below. Monitor the expansion process closely. Continue adding water gradually until the pellets are fully expanded and have reached their maximum size.
Remember to always drain excess water promptly to prevent the pellets from becoming waterlogged, which can suffocate the seeds and lead to rot.
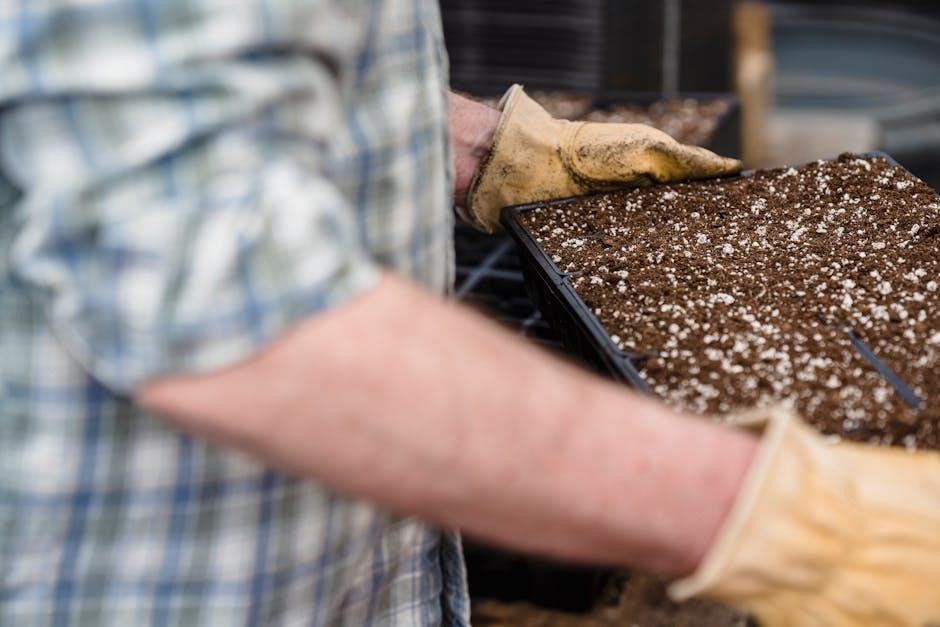
Preparing the Base Tray
The base tray provides essential support and water management. Before hydrating the peat pellets, ensure the tray is clean and stable. This will prevent accidental spills and provide a level surface for even pellet expansion.
Place the dry Jiffy peat pellets directly into the cells of the base tray. Arrange them neatly, ensuring each cell receives a single pellet. The tray’s design helps contain the expanding pellets and any excess water.
Once the pellets are in place, you’re ready to begin the hydration process. Remember to have a method for draining excess water readily available, as this is a crucial step in preparing the tray for successful seed starting.

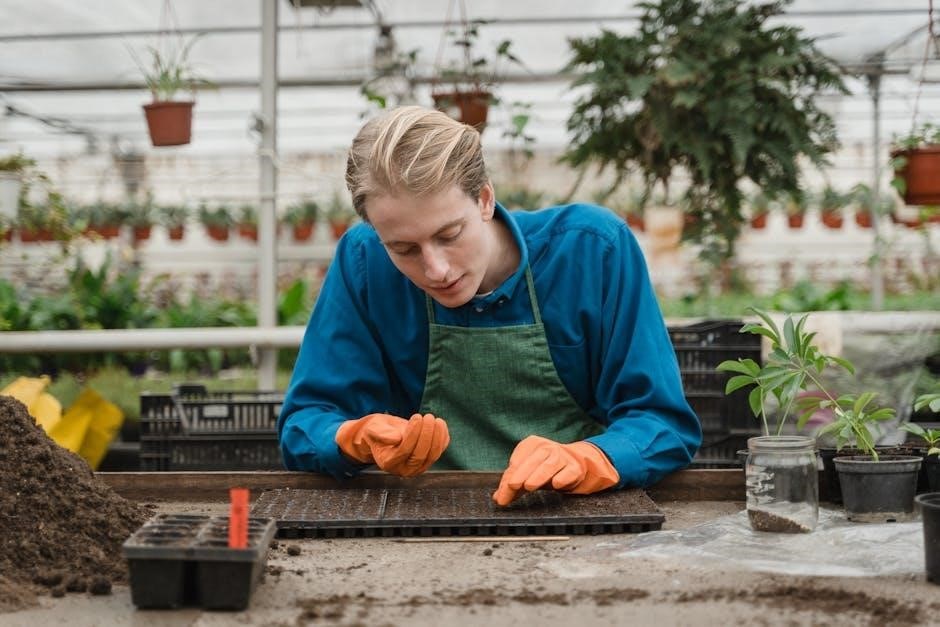
Sowing Your Seeds
Carefully sow seeds into hydrated pellets! Follow seed packet instructions for depth and spacing, gently firming the soil and covering seeds lightly for optimal growth.
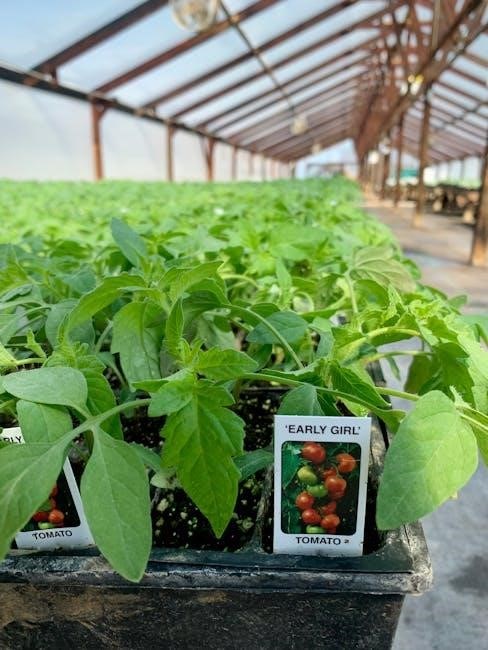
Seed Selection and Compatibility
Choosing the right seeds is crucial for success! Jiffy peat pellets are remarkably versatile, accommodating a wide range of vegetable, herb, and flower seeds. However, consider seed size and germination requirements. Smaller seeds, like lettuce or petunias, can be sprinkled directly onto the pellet surface.
Larger seeds, such as beans or peas, benefit from a slightly deeper planting. Ensure the seeds are compatible with indoor starting; some root vegetables prefer direct sowing. Prioritize fresh, high-quality seeds for improved germination rates.
Remember, the Jiffy system provides a controlled environment, but seed viability remains paramount. Refer to seed packet information for specific recommendations regarding light, temperature, and optimal germination times for each variety.
Sowing Depth and Spacing
Proper sowing ensures optimal germination and healthy seedling development! Generally, sow seeds at a depth equal to two to three times their diameter. Tiny seeds, like those of begonias, should barely be covered; simply press them gently onto the peat pellet surface. Larger seeds, such as tomatoes or peppers, require a slightly deeper planting – around ¼ to ½ inch.
Spacing within each Jiffy pellet isn’t a major concern as you typically sow only a few seeds per pellet (2-3 is recommended). However, avoid overcrowding, as this can lead to competition for resources.
Always consult the seed packet for specific instructions, as recommendations vary significantly between species. Gently firm the soil around the seeds after sowing to ensure good seed-to-pellet contact.
Covering the Seeds
Maintaining consistent moisture is key after sowing! After gently firming the soil around your seeds, a light covering helps retain humidity and encourages germination. For very fine seeds, a barely perceptible dusting of vermiculite or peat moss is sufficient. Larger seeds benefit from a slightly thicker layer – about the same depth as you sowed them.
The Jiffy greenhouse dome plays a crucial role here, trapping moisture and creating a humid microclimate. Avoid heavy covering, which can impede seedling emergence.
Ensure the covering doesn’t displace the seeds. Lightly mist the surface with water after covering to settle the material and provide initial hydration. This prepares the environment for successful sprouting.
Maintaining Optimal Growing Conditions
Consistent care is vital for thriving seedlings! Manage humidity, water appropriately, and provide adequate light to ensure robust growth within your Jiffy greenhouse.
Humidity Dome Management
The humidity dome is crucial for initial germination. It creates a warm, moist environment that encourages seeds to sprout. Place the dome securely on the base tray after sowing seeds.
However, it’s essential to monitor and adjust ventilation. Once seeds germinate, gradually increase airflow to prevent fungal diseases and encourage stronger stem development.
Prop the dome lid open a little each day, slowly increasing the opening. This “hardening off” process within the kit prepares seedlings for the outside world.
Ultimately, remove the dome entirely when seedlings are well-established and no longer require the consistently high humidity. Proper dome management is key to healthy seedling growth!
When to Open the Dome
Observe your seedlings closely to determine the optimal time to begin ventilating the humidity dome. The key indicator is germination – once sprouts emerge, the dome’s purpose shifts from creating humidity to preventing damping-off.
Start by propping the dome lid open slightly for a few hours each day. This introduces gentle airflow and reduces moisture buildup. Gradually increase the opening duration over several days.
Look for signs of condensation inside the dome; excessive condensation indicates too much humidity. If seedlings appear leggy or weak, it’s a sign they need more air circulation.
Fully remove the dome when seedlings are robust and no longer appear stressed by the lower humidity levels. This typically occurs within a week or two of germination.
Watering Schedule
Maintaining consistent moisture is crucial, but avoid overwatering. Jiffy peat pellets expand when hydrated, and the goal is to keep them consistently moist, not soggy. Initially, water thoroughly after sowing seeds, ensuring the walls of the peat strips are saturated.
Thereafter, water when the top of the pellets turns light brown. This indicates they are beginning to dry out. Avoid watering on a strict schedule; instead, check the moisture level daily.
Water from the bottom by pouring into the base tray, allowing the pellets to absorb moisture upwards. This prevents disturbing delicate seedlings and minimizes fungal growth.
Drain any excess water promptly to prevent root rot. Consistent monitoring and adjusting to environmental conditions are key to a successful watering schedule.
Recognizing When to Water
Don’t rely on a fixed schedule; observe your Jiffy pellets closely. The most reliable indicator is the color of the peat pellet surface. When the top layer transitions from dark brown to a lighter brown hue, it’s time to water.
Gently touch the pellet surface. If it feels dry to the touch, it needs moisture. Avoid letting the pellets completely dry out, as this can hinder germination or stress young seedlings.
Observe the seedlings themselves. Wilting or drooping can also signal underwatering, though this can also indicate other issues.
Remember, consistent moisture is key, but overwatering is equally detrimental. Regularly check and adjust your watering based on these visual and tactile cues.
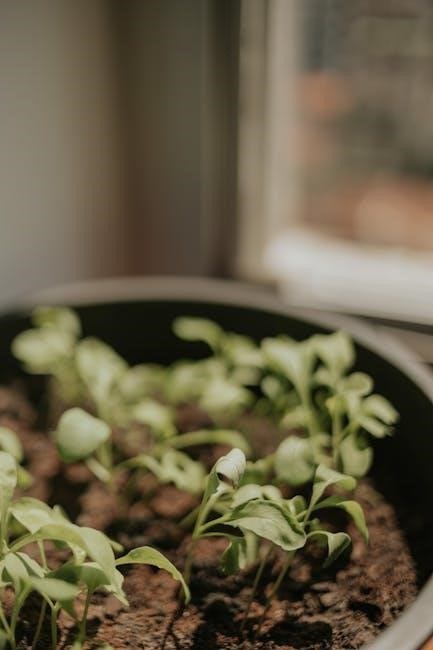
Light Requirements
Seedlings require ample light for healthy development. While germinating, most seeds don’t need direct sunlight, but once sprouted, light becomes crucial. A bright, indirect light source is ideal initially.
South-facing windows offer the most intense light, but be cautious of scorching delicate seedlings. East or west-facing windows provide gentler, suitable light. If natural light is insufficient, consider using grow lights.
Seedlings need approximately 14-16 hours of light daily. Rotate the tray regularly to ensure even growth and prevent seedlings from leaning towards the light source.
Gradually acclimate seedlings to stronger light as they mature, preparing them for outdoor conditions during the hardening-off process.
Sunlight Exposure Guidelines
Optimal sunlight exposure is vital for robust seedling growth. Newly germinated seeds benefit from indirect, bright light to prevent stress. Direct sunlight can quickly overheat and damage young, fragile plants.
Begin with 6-8 hours of indirect sunlight daily, gradually increasing exposure as seedlings develop their first true leaves. Monitor plants closely for signs of scorching – bleached or brown leaves indicate too much direct sun.
If using a windowsill, rotate the tray daily to ensure even light distribution and prevent leaning. Supplement with grow lights if natural light is limited, providing 14-16 hours of illumination.
Remember to harden off seedlings before transplanting outdoors, slowly introducing them to increasing amounts of direct sunlight over several days.
Transplanting Seedlings
Successfully move seedlings to larger pots or the garden! Harden them off, utilize biodegradable strips to minimize shock, and gently separate roots.
Hardening Off Process
Gradually acclimate your seedlings to outdoor conditions with the hardening off process. This crucial step prevents transplant shock and ensures robust growth. Begin by placing your Jiffy peat pellet seedlings outdoors in a shaded location for a few hours each day.
Over subsequent days, incrementally increase the duration of outdoor exposure and the amount of sunlight they receive. Start with just an hour or two, then progress to half a day, and finally a full day. Monitor the seedlings closely for signs of stress, such as wilting or leaf burn.
If stress occurs, move them back to a more sheltered environment. This gradual transition allows the plants to develop a tolerance to fluctuating temperatures, wind, and direct sunlight, preparing them for successful transplantation into the garden.
Biodegradable Peat Strip Advantages
Jiffy’s biodegradable peat strips offer significant benefits during transplanting, minimizing root disturbance and promoting healthier plant establishment. Unlike traditional plastic containers, these strips decompose naturally in the soil, eliminating the need to remove the seedling and potentially damage its delicate root system.
This feature drastically reduces transplant shock, allowing the plant to focus its energy on growth rather than recovery. The peat strips also provide a nutrient-rich environment for the developing roots, further supporting their establishment in the garden.
Separating seedlings is simple – gently pull apart the strips, ensuring minimal root disruption. This eco-friendly approach contributes to sustainable gardening practices and healthier, more vigorous plants.
Separating Seedlings for Transplanting
When your seedlings are ready for transplanting, the Jiffy system simplifies the process. Gently pull apart the individual peat strips, being careful not to damage the delicate root systems. The biodegradable nature of the strips means you don’t need to remove the seedling – the entire peat pellet can be planted directly into the garden or a larger container.
Handle the seedlings by their leaves, avoiding the stems to prevent injury. If roots have grown through the mesh netting, it’s okay to plant them as is; they will decompose over time.
This method minimizes root disturbance and transplant shock, giving your seedlings the best possible start in their new environment.
Troubleshooting Common Issues
Address challenges with ease! Mold, poor germination, and overwatering are common. Proper ventilation, seed quality, and mindful watering will ensure healthy seedling development.
Dealing with Mold or Fungus
Mold and fungal growth can occur due to excessive humidity. Maintaining proper airflow is crucial; ensure the humidity dome is opened gradually once germination begins. Increase ventilation by propping the dome open for longer periods each day.
If mold appears, gently remove affected seedlings to prevent spread. Avoid overcrowding, as this restricts airflow. Consider a fungicide specifically designed for seedlings, following label instructions carefully. Preventative measures are best – avoid overwatering and ensure good air circulation from the start.
Using fresh, sterile seed starting mix and clean trays also minimizes risk. Inspect seedlings daily for early signs of mold, addressing issues promptly to protect your developing plants.
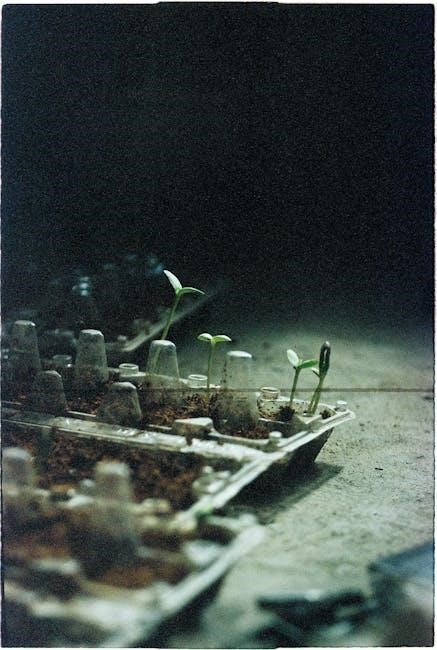
Addressing Poor Germination Rates
Low germination can stem from several factors. First, verify seed viability – older seeds have reduced germination rates. Ensure proper moisture levels; peat pellets should be consistently damp, but not waterlogged. Temperature is critical; check seed packet instructions for optimal germination temperatures.
Sowing depth also matters; follow packet guidelines carefully. Insufficient light can hinder germination, though direct sunlight isn’t needed initially. If using a new seed source, test a small batch first.
Consider seed treatment with a fungicide if damping-off is suspected. Proper hydration of the peat pellets is essential for successful germination, expanding them to the correct size before sowing.
Preventing Overwatering
Overwatering is a common pitfall with Jiffy pellets. These retain significant moisture, so careful monitoring is crucial. Allow the surface of the pellets to dry slightly between waterings; when they turn light brown, it’s time to water. Always drain excess water from the base tray after hydrating and subsequent watering sessions.
Avoid top-watering directly onto the seedlings, as this can disturb them and promote fungal growth. Instead, water the base tray, allowing the pellets to absorb moisture from below. Good air circulation within the greenhouse dome helps prevent excessive humidity and reduces the risk of overwatering.
Remember, consistently soggy pellets can lead to root rot and damping-off, hindering seedling development;
Advanced Tips & Techniques
Maximize your success! Utilize plant labels for organization and extend the growing season by starting seeds indoors earlier for a head start.
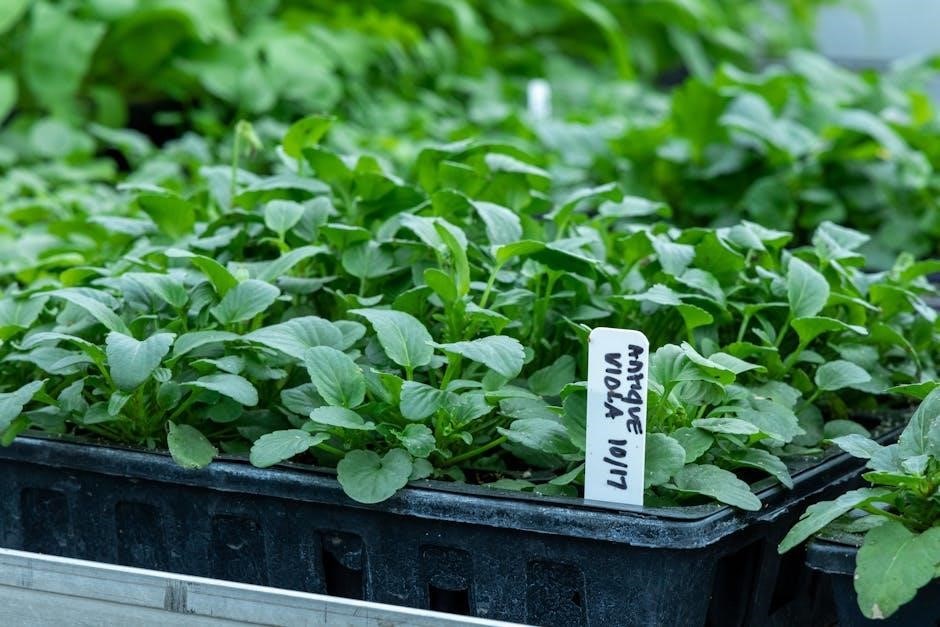
Using Plant Labels Effectively
Organization is key to a thriving garden! The Jiffy greenhouse kits often include plant labels – don’t underestimate their value. Clearly label each peat pellet with the seed variety and sowing date. This prevents confusion as seedlings emerge, especially when growing multiple types.
Use a permanent marker for durability, ensuring the ink won’t fade with moisture. Consider color-coding labels by plant family or expected harvest time for even greater efficiency.
Position the labels strategically, avoiding shading the seedlings. Regularly check labels to ensure they remain legible throughout the growing process. Accurate labeling streamlines transplanting and helps maintain a well-managed seed starting system, ultimately leading to a more bountiful harvest.
Extending the Growing Season
Beat the frost and maximize your yield! Jiffy seed starting kits are excellent for extending the growing season, allowing you to start plants indoors weeks before the last frost. This head start is crucial for crops needing a long maturation period, like tomatoes or peppers.
By utilizing the controlled environment of the greenhouse dome, you create optimal conditions for germination and early growth.
Monitor temperatures closely and adjust ventilation as needed. Gradually “harden off” seedlings by introducing them to outdoor conditions before transplanting, ensuring a smooth transition. This technique provides a significant advantage, resulting in earlier harvests and a longer period of fresh produce.